Industrial CT Scanning

What is Industrial CT Scanning?

Industrial CT scanning, or Industrial Computed Tomography, is a technologically advanced inspection process that uses X-ray technology to produce three-dimensional representations of an object’s internal and external structures. This nondestructive testing method allows for a thorough examination of an object without causing any damage. From detecting minute defects in manufacturing parts to measuring complex geometries, industrial CT scanning proves invaluable in numerous industries, including automotive, aerospace, and electronics. It enhances quality control, aids in product development and additive manufacturing, enables reverse engineering, and provides comprehensive failure analysis, making it a vital tool in the modern industrial landscape.

Part scanned using industrial computed tomography

How Does an Industrial CT Scan Work?

An Industrial CT scan works in a way that is similar to its medical counterpart. It starts by placing the object to be inspected on a rotary table between an X-ray source and a detector panel. As the object rotates, the X-ray source emits a beam of X-rays towards the object, much of which are absorbed while some pass through and reach the detector. The variation in the X-ray absorption or transmission is captured by the detector, generating a two-dimensional X-ray image or radiograph of the cross-sectional slice of the object. This process is repeated during a 360-degree rotation, capturing hundreds or thousands of radiographs from different angles. These cross-sectional images are then digitally reconstructed by a computer into a 3D volumetric map, allowing for a virtual inspection of the object’s internal and external structures. This methodology allows for the detection of internal flaws, measurements of internal features, or analysis of the internal assembly, providing a comprehensive evaluation of the inspected object.

How Accurate is Industrial CT Scanning?

Industrial CT scanning accuracy is typically in the range of .0005″ or better, even for larger sized parts. This is a substantially higher resolution than other technology used for scanning and data collection for smaller parts and mechanical structures.

when average 3D scan quALITY is not good enough

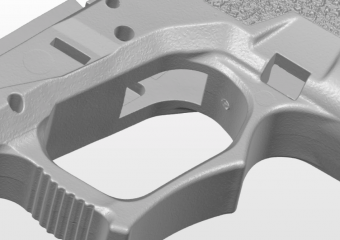
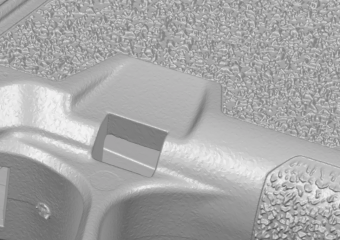
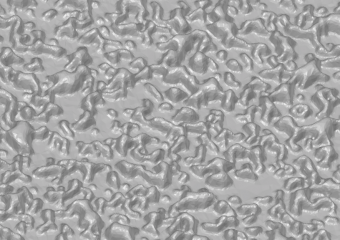
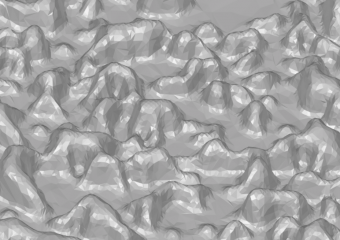
Take a look at this firearm part that we scanned using CT scanning. At first glance you may think it resembles a scan taken by your run-of-the-mill scanner. But zoom in further, and you see that it is no ordinary scan. What looks like some fine texture at first glance looks like a mountain range up close. 
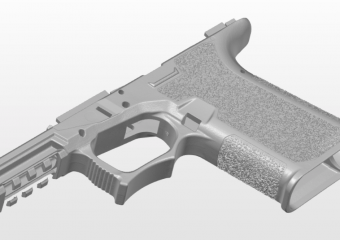
Not only is the scan of exceptionally high resolution, it is also extremely accurate, so that the scan may be used as a reliable reference for designing add-ons, changes, accessories etc. We can support your project with this same level of detail and accuracy using industrial CT scanning services.

What is the Difference Between Medical CT and Industrial CT?

While both medical and industrial CT scans employ the same underlying technology — capturing multiple two-dimensional X-ray images and assembling them into a three-dimensional model — each serves a distinct purpose and has unique characteristics. Medical CT scanning is primarily designed for diagnosing and monitoring disease within the human body. It focuses on soft tissue contrast and prioritizes patient safety, limiting the radiation dose exposure significantly.

On the other hand, industrial CT scanning is engineered for inspecting a wide range of materials, from plastic to metals. Its emphasis lies in spatial resolution and accuracy, allowing for the detection of minute defects and measurements in objects. Unlike medical CT, industrial scanners can use higher radiation levels because there are no biological safety considerations. Thus, while similar in their operating principle, the primary differences between medical and industrial CT scanning reside in their objectives, radiation dose, and the nature of the materials scanned.

What are the Industrial Applications of Computed Tomography Scanning?

Quality Control and Inspection

Industrial CT scanning allows for precise non-destructive testing of manufactured components, identifying external and internal defects or discrepancies that could affect the product’s functionality or lifespan. Detailed flaw detection within the inspection process is utilzed in a broad range of manufacturing processes.

Failure Analysis

By providing detailed insights into an object’s internal structure, industrial computed tomography aids in determining the root cause of product failures. Due to its high resolution, the CT scanner can “see” internal structures that other technologies cannot. This allows it to identify internal failures to aid the production process and prevent future issues.

Assembly Verification

X-Ray computed tomography can verify the correct assembly of complex multi-part assemblies, ensuring the integrity and functionality of the final product. It can image complex external features of the scanned object at high speed, allowing detailed verification from the resulting image.

Metrology

Due to its high resolution, industrial x-ray can be used for accurate dimensional analysis, even for internal features that are not accessible by traditional measuring tools. Taks such as wall thickness analysis and geometric dimensioning are easier to complete.

Research and Development

During the development process, CT technology can assess prototypes, guide improvements, and aid in the understanding and validation of new production methods.
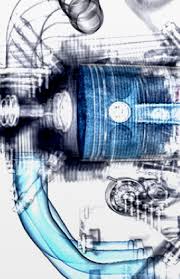
see-through X-ray ct scan
Transparent View

Material Analysis

CT systems can identify the distribution and density of materials within a component. This is useful for analyzing composite materials, defect analysis, or the results of additive manufacturing processes.

Reverse Engineering

An industrial CT scanner is a powerful tool for reverse engineering services and processes. It can create accurate 3D models of existing objects, capturing both external and internal geometries. This can be used to replicate or modify the design.

Preservation and Analysis of Cultural Artifacts

In archeology and paleontology, x-ray computed tomography allows for non-des examination of fragile historical artifacts or fossils. It facilitates the study of these objects without causing potential damage through physical handling. CT data is also used to anlayze the internal structures of these finds so scientists can better understand an artifact’s composition or the biology of long-extinct creatures.

Analysis in Geology and Petroleum Industry

Industrial CT scanners can be used to analyze the porosity and permeability of rock samples and drill cores in petroleum exploration or to study geological formations.

Food and Agriculture

In the food industry, industrial CT scanning can be used for quality control, detecting foreign objects in packaged food, analyzing the distribution of components in food products, or studying plant structures in agricultural research.

More Information About Industrial CT Scanning Services

An industrial CT scan can be used for more than one thing. Not only are they of exceedingly high quality and of great use for inspection and reverse engineering,  they are so thorough that one can often go straight to the 3D printer with the result. So creating a plastic, metal, or composite replica is easy – even a scale model using a large format 3d printer.

Are There Size Limitations for Scanned Objects?

CT scanning is available for parts up to 20 inches long. There is really no limit on the small side. As a general rule, smaller is generally cheaper.

Can Any Material be Scanned Using Industrial Computed Tomography?

CT scanning is available for parts up to 20 inches long. There is really no limit on the small side. As a general rule, smaller is generally cheaper.

Can You Scan Multiple Parts at Once?

Yes! With CT scanning, great savings can be had by grouping multiple items in a single scan.  available for parts up to 20 inches long. To get the best value, smaller is always better. 

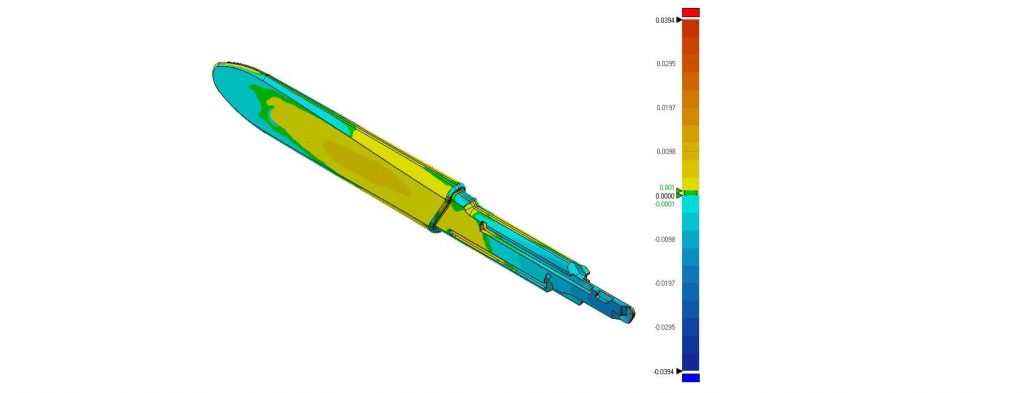
Correlating Colors to Errors

The output data from an industrial ct scan contains a dizzying amount of single point measurements (aka point cloud) that often number in the billions. How does a mere human even consider this type of information? An elegant and easy way is to use Geomagic software to compare the point cloud data set to a theoretical perfect object. The Geomagic (or other inspection software) can align a CAD model to the industrial CT scan data set and generate an image like the one seen here showing color coordinated high and low spots, as well as areas that conform to specified design tolerances. 

Benefits of Industrial CT Scanning

  • High accuracy (to 0.0005 inches or better)
  • High speed
  • Comprehensive raw data set
  • Ability to view internal structures not visible with other technology or non-destructive testing
  • Detailed inspection, materials, and failure analysis
  • Ease of CAD model creation and output file creation for 3d printing
  • Value when comparing scan cost to the depth of analysis and diversity of applications

Examples of STL Files Created Using Industrial CT Scanning Technology
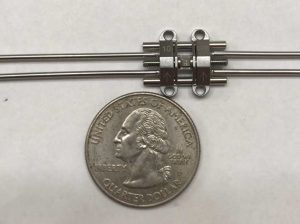
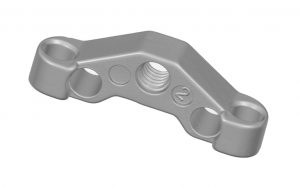
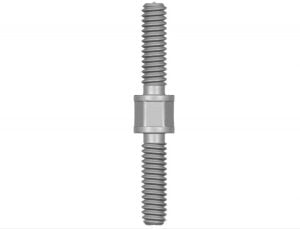
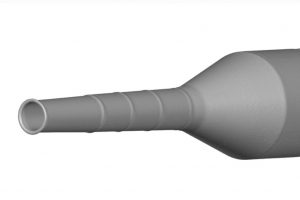
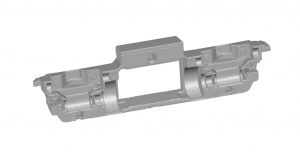
Here are some parts that have been scanned using industrial CT scanning for clients. These are actual raw scans, not CAD models. 
Very Tiny Mechanical Assembly
CT Scan of Tiny Threaded Bracket
CT Scan of Tiny Threaded Rod
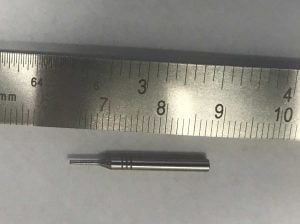
Dermotology Bit
CT Scan of Dermatology Bit
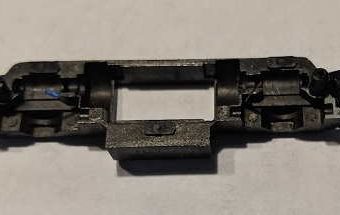
Model Train Part
CT Scan of Model Train Part

Complete CT Scan of a Carbon Fiber Racing Bike